For homework and projects, it may be useful to compare actual and expected output side-by-side. Eclipse has a nice comparison view that will align the different outputs and highlight the differences, even differences in whitespaces that may be otherwise difficult to see.
Opening Compare Text View
Some of the tests compare text that can be opened in a side-by-side comparison view for debugging. To open this view, follow these steps:
-
Open the JUnit view and run one or more tests.
-
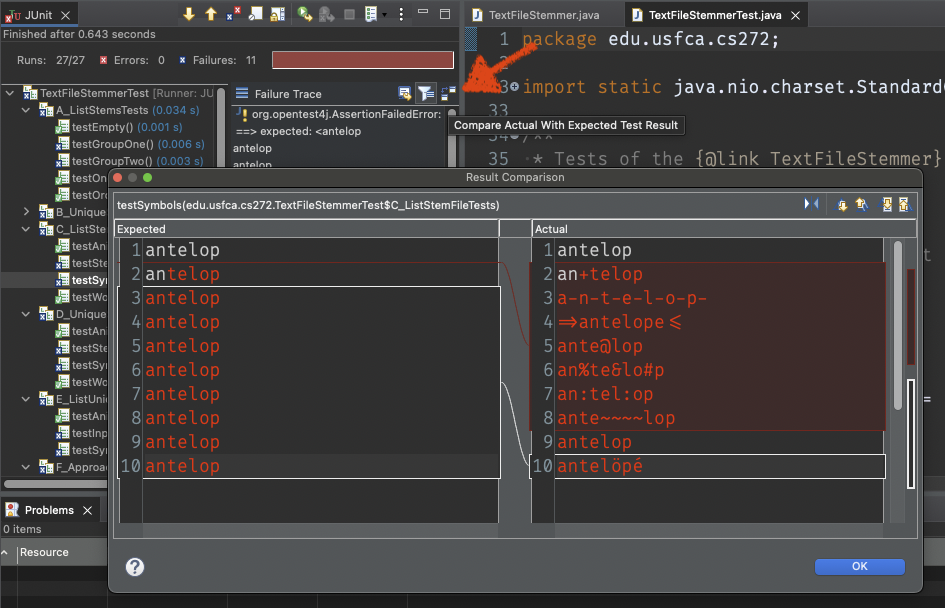
Click on a specific failing test; one that has a blue x icon. Tests with a x red icon threw an exception, and thus there is nothing to compare.
-
In the “Failure Trace” section for that test, click the icon that looks like two connected window icons.
This will open up a comparison view. See below for how to use that view.
Opening Compare Files View
Some of the tests compare files instead of the difference between text output. To open a comparison view for two files, follow these steps:
-
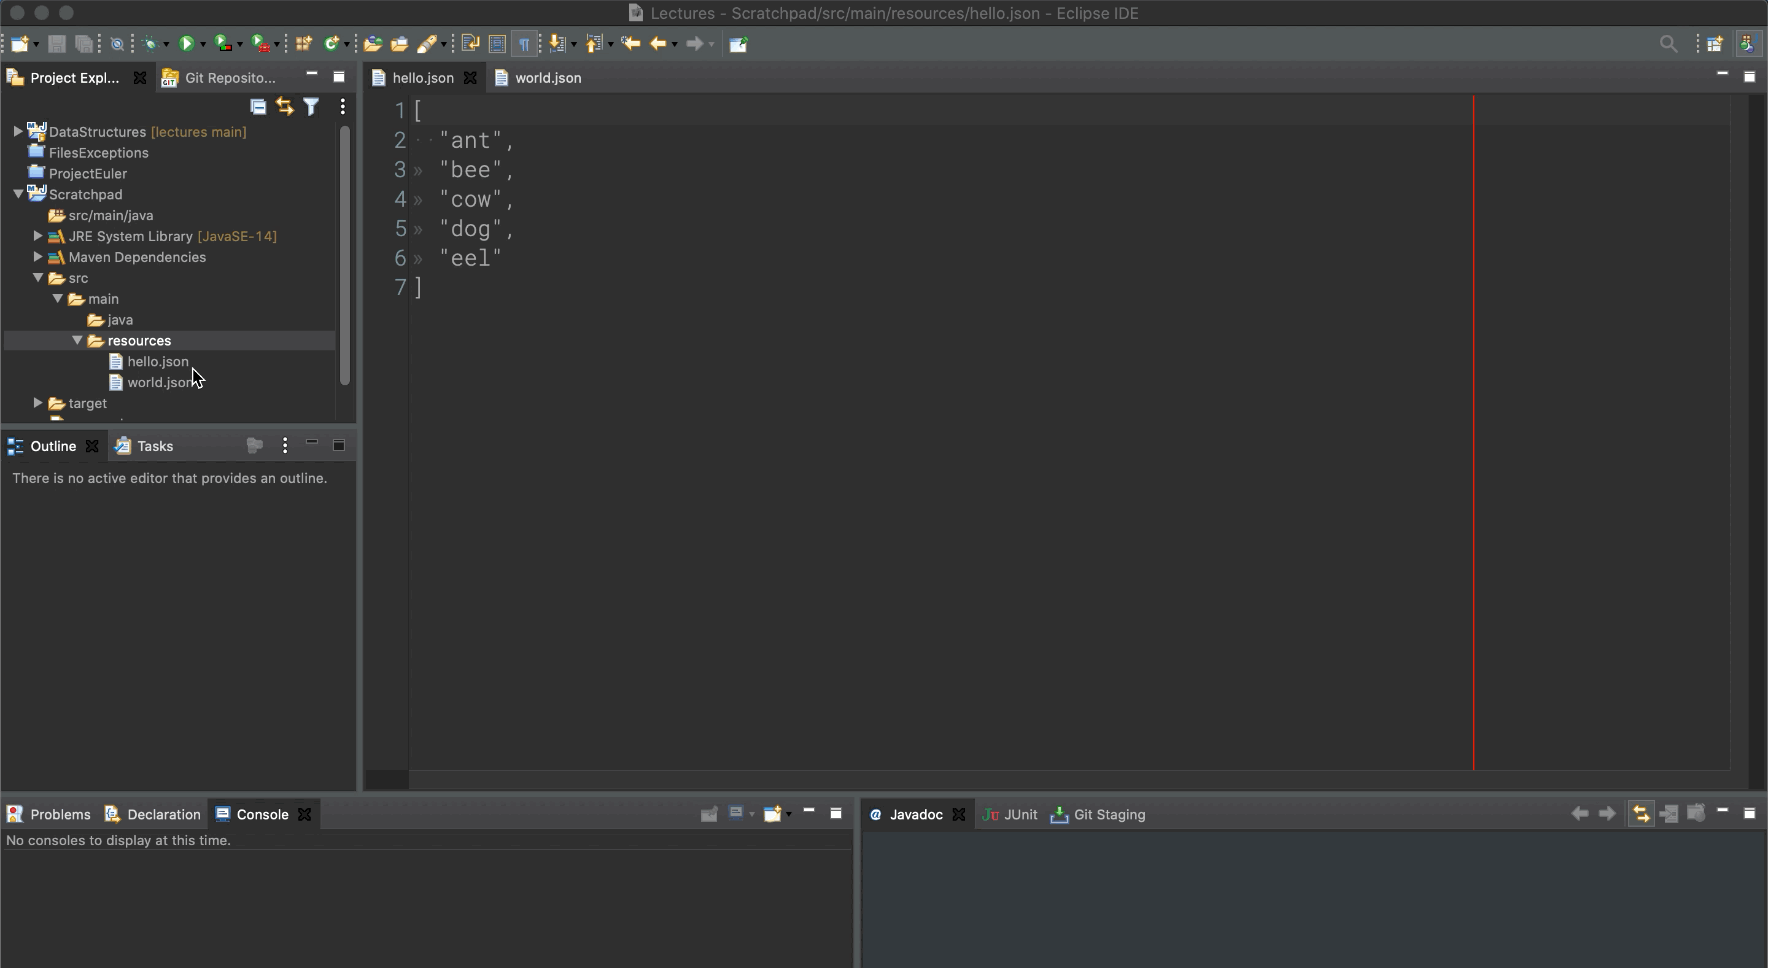
Control + Click or Command + Click the two files you want to compare so that they are both highlighted in the Project Explorer view.
-
Right-click one of the selected files. This should open up a menu.
-
Select “Compare With” from the menu.
-
Select “Each Other” from the sub-menu.
Using the Comparison View
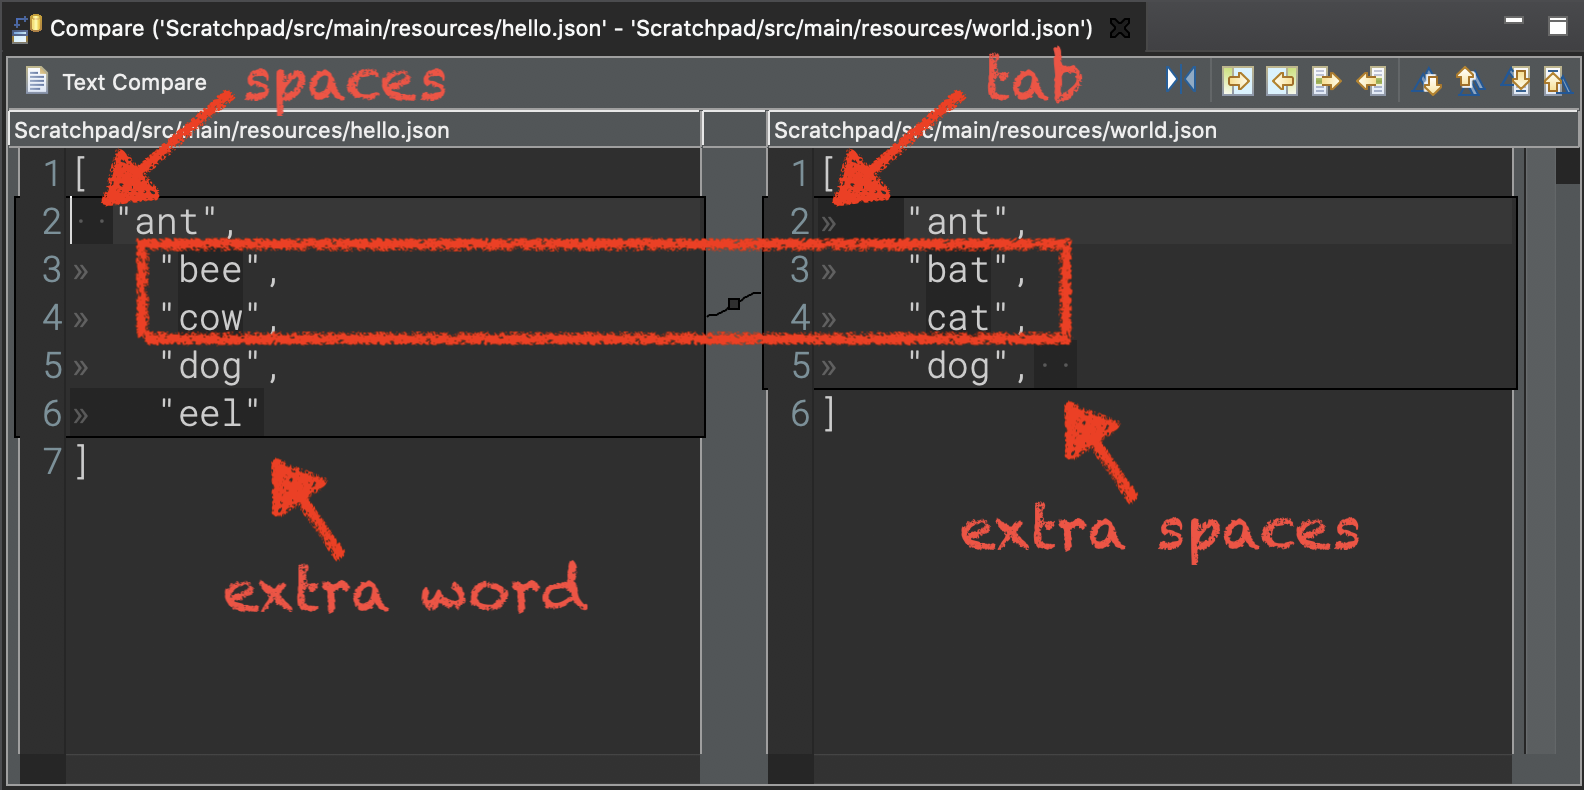
The output will be displayed side-by-side. If it is a long file, Eclipse will synchronize scrolling of the output.
Any differences between the output will be highlighted. This is especially helpful to find difference in whitespaces.
You can also use the buttons on the top right to step through all of the differences. This is useful for output when it isn’t clear where to find the differences.