This guide will walkthrough the steps necessary to install the latest versions of Java and Eclipse on your local system.
Install Java
You need to make sure you have the latest version of Java Standard Edition (SE) Development Kit ** (JDK 17) installed on your system. When downloading, keep in mind:
-
Do NOT download Java 8, Java 11, or Java 16. We will be using Java in class. There are some differences between Java 8, Java 11, Java 16, and Java 17, and the lecture code may not compile on your system.
-
Do NOT download Java Enterprise Edition (EE). We will be using the Standard Edition (SE) in class. Java EE is used to create enterprise applications.
-
Do NOT download just the Java Runtime Environment (JRE). The Java Development Kit (JDK) includes the JRE, which is necessary to run Java code. The JDK also includes the Java compiler, which we will need in class.
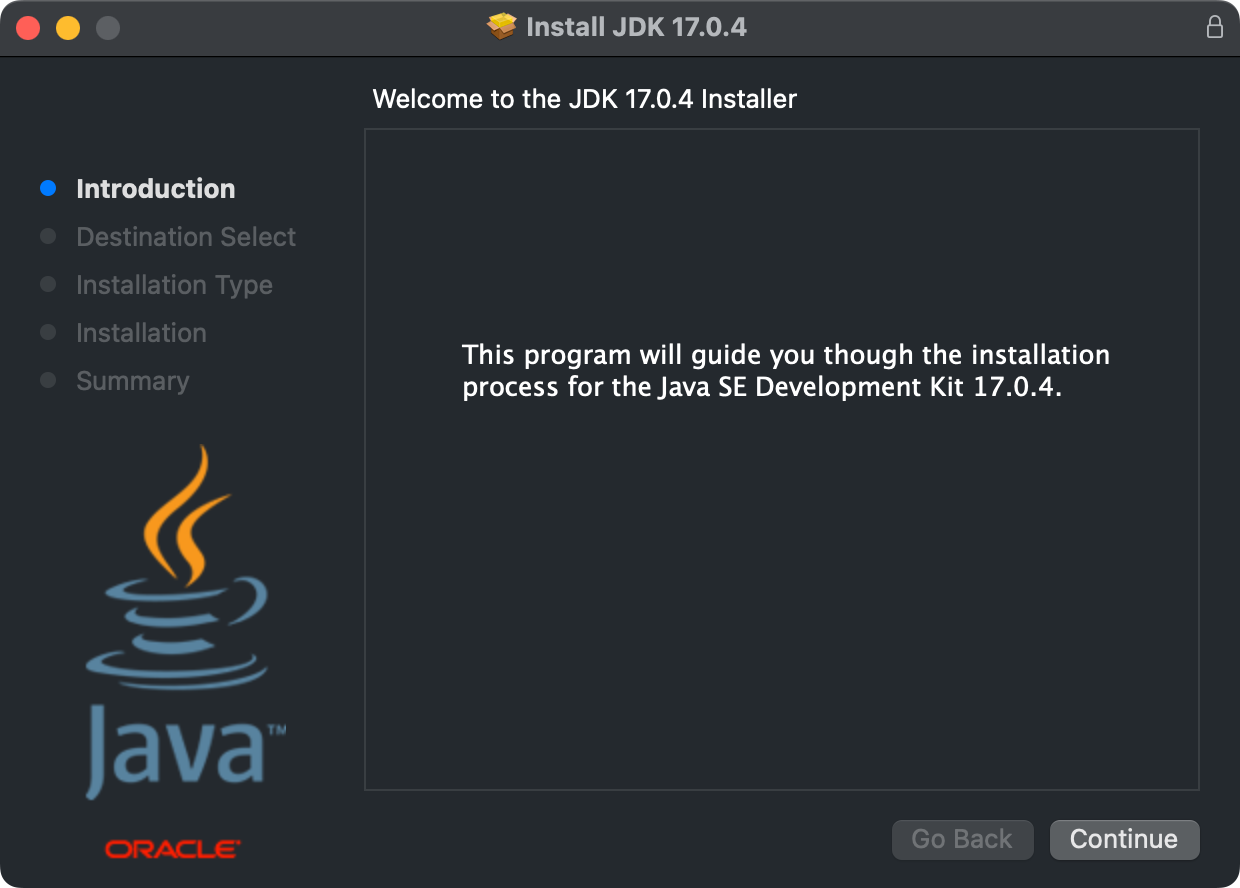
To install the Java SE 17 JDK, go to the Oracle Java Downloads website. Download the appropriate file for your system. Run the installer and follow the prompts.
Once done, open a terminal window and verify the version using java -version and javac -version. The output will be similar to:
% java --version
java 17.0.6 2023-01-17 LTS
Java(TM) SE Runtime Environment (build 17.0.6+9-LTS-190)
Java HotSpot(TM) 64-Bit Server VM (build 17.0.6+9-LTS-190, mixed mode, sharing)
% javac --version
javac 17.0.6
Note that % above indicates the command prompt, and the lines below that are the output.
If when you verify the version of java and javac, it does not default to your new installation, then you might need to do some extra setup in Eclipse. See the “Verify Eclipse Java Settings” section below.
Setup Folders
We are using the Eclipse integrated development environment (IDE) in class for writing Java code and GitHub (using git) to store and share that code. Both Eclipse and GitHub have hidden metadata they use to track the status of your code and it is very important to keep this hidden metadata separate from each other.
Therefore, I recommend you create these (or similarly named) folders:
-
cs272_eclipse: This will be the folder for your Eclipse workspace. Only the hidden Eclipse metadata will be stored here (not your actual code). This is the directory you will select when you open Eclipse for the first time and are prompted for a workspace. -
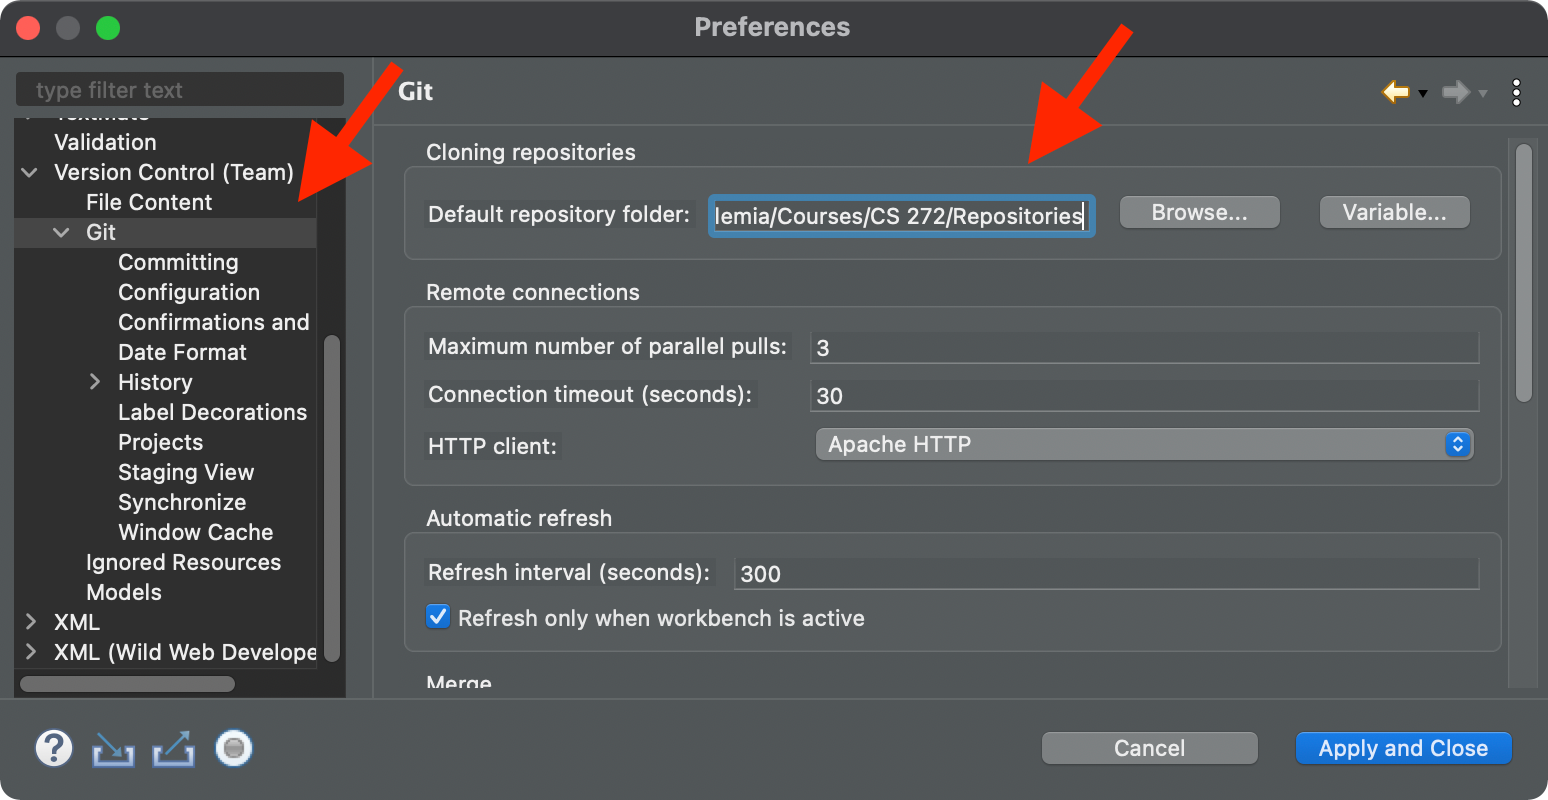
cs272_github(Optional): This will be the folder for your GitHub repositories that will be used for homework and project submission (and Eclipse). You can also use the default folder forgitinstead, as long as it is outside of the workspace folder. This is the directory you will select when you clone repositories from GitHub.You can configure Eclipse to always save your CS 272 code in this folder in the “Version Control (Team) » Git” settings:
Setup the folders before setting up Eclipse!
You can use the “Finder” application on Mac or “File Explorer” (previously “Windows Explorer”) in Windows to create the folders. Or, on any Unix or Linux-based system, you can use the mkdir command.
Eclipse does not behave well when you combine or nest the Eclipse workspace and GitHub repositories folders. Keep these separate!
Install Eclipse

You need to make sure you have the latest Eclipse IDE for Java Developers package for **Eclipse **. Do NOT download the IDE for Java EE Developers, as we are using Java SE in class.
Go to the Eclipse IDE for Java Developers page for a direct download link appropriate for your operating system. There are installers available for Windows, Mac OSX, and Linux.
Once downloaded, double-click the installer and follow the prompts.
Mac Users: I recommend you move the Eclipse.app file into your “Applications” folder for easy access.
Verify Eclipse Java Settings
If you installed the latest version of Java before Eclipse, Eclipse will usually use that version of Java automatically. Otherwise, you may need to change the Java settings within Eclipse.
When you first open Eclipse, it will ask you for the workspace location. If you setup your folders already, choose the Eclipse workspace folder. You can use this same workspace for the entire semester.
The next step is to make sure Eclipse is aware of your new Java installation. Open the Eclipse preferences and go to the “Java” » “Installed JREs” settings:
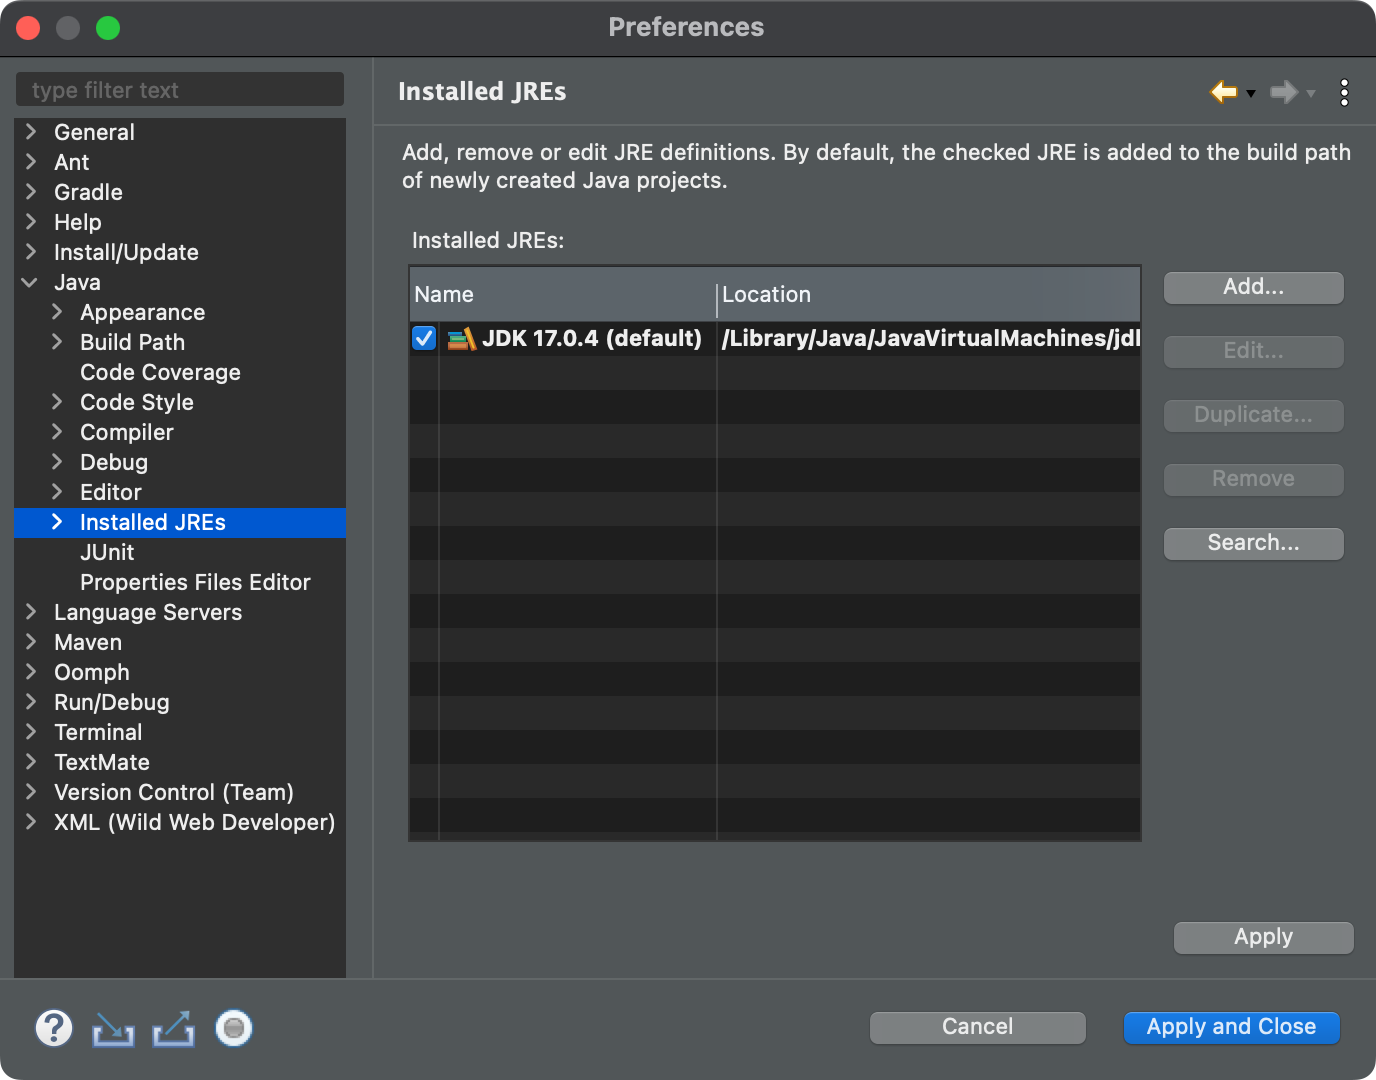
If you do not see your newly installed version of Java, click the “Search” button to tell Eclipse where to find it. Then, I recommend removing any other installations from this window.
The next step is to configure Eclipse to use this version when running Java code. Open the “Java” » “Installed JREs” » “Execution Environments” panel:
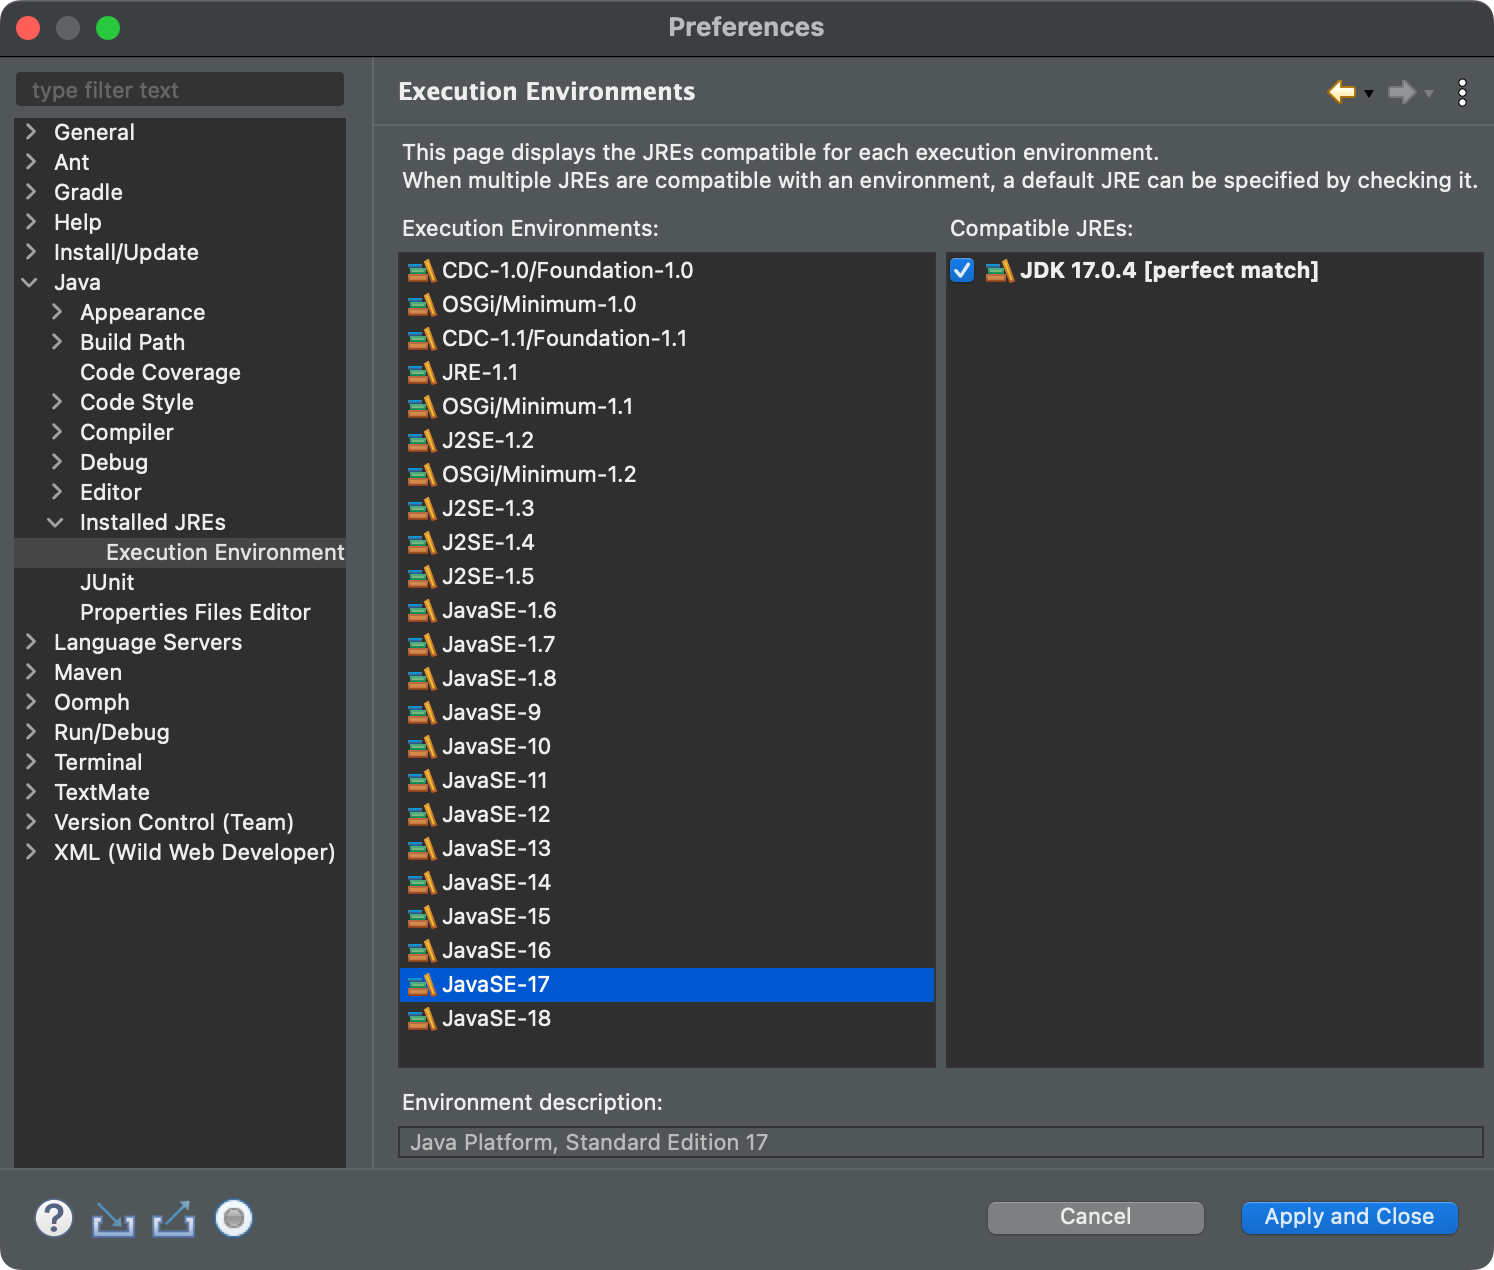
Click on “JavaSE-“ and make sure your newest installation is selected. If you do not see “JavaSE-“ listed, you need to update your version of Eclipse.
After that, the final step is to configure Eclipse to use this version when compiling Java code. Go to the “Java” » “Compiler” settings in the Eclipse preferences:

Make sure 17 is selected from the dropdown menu. Make sure to apply those changes!